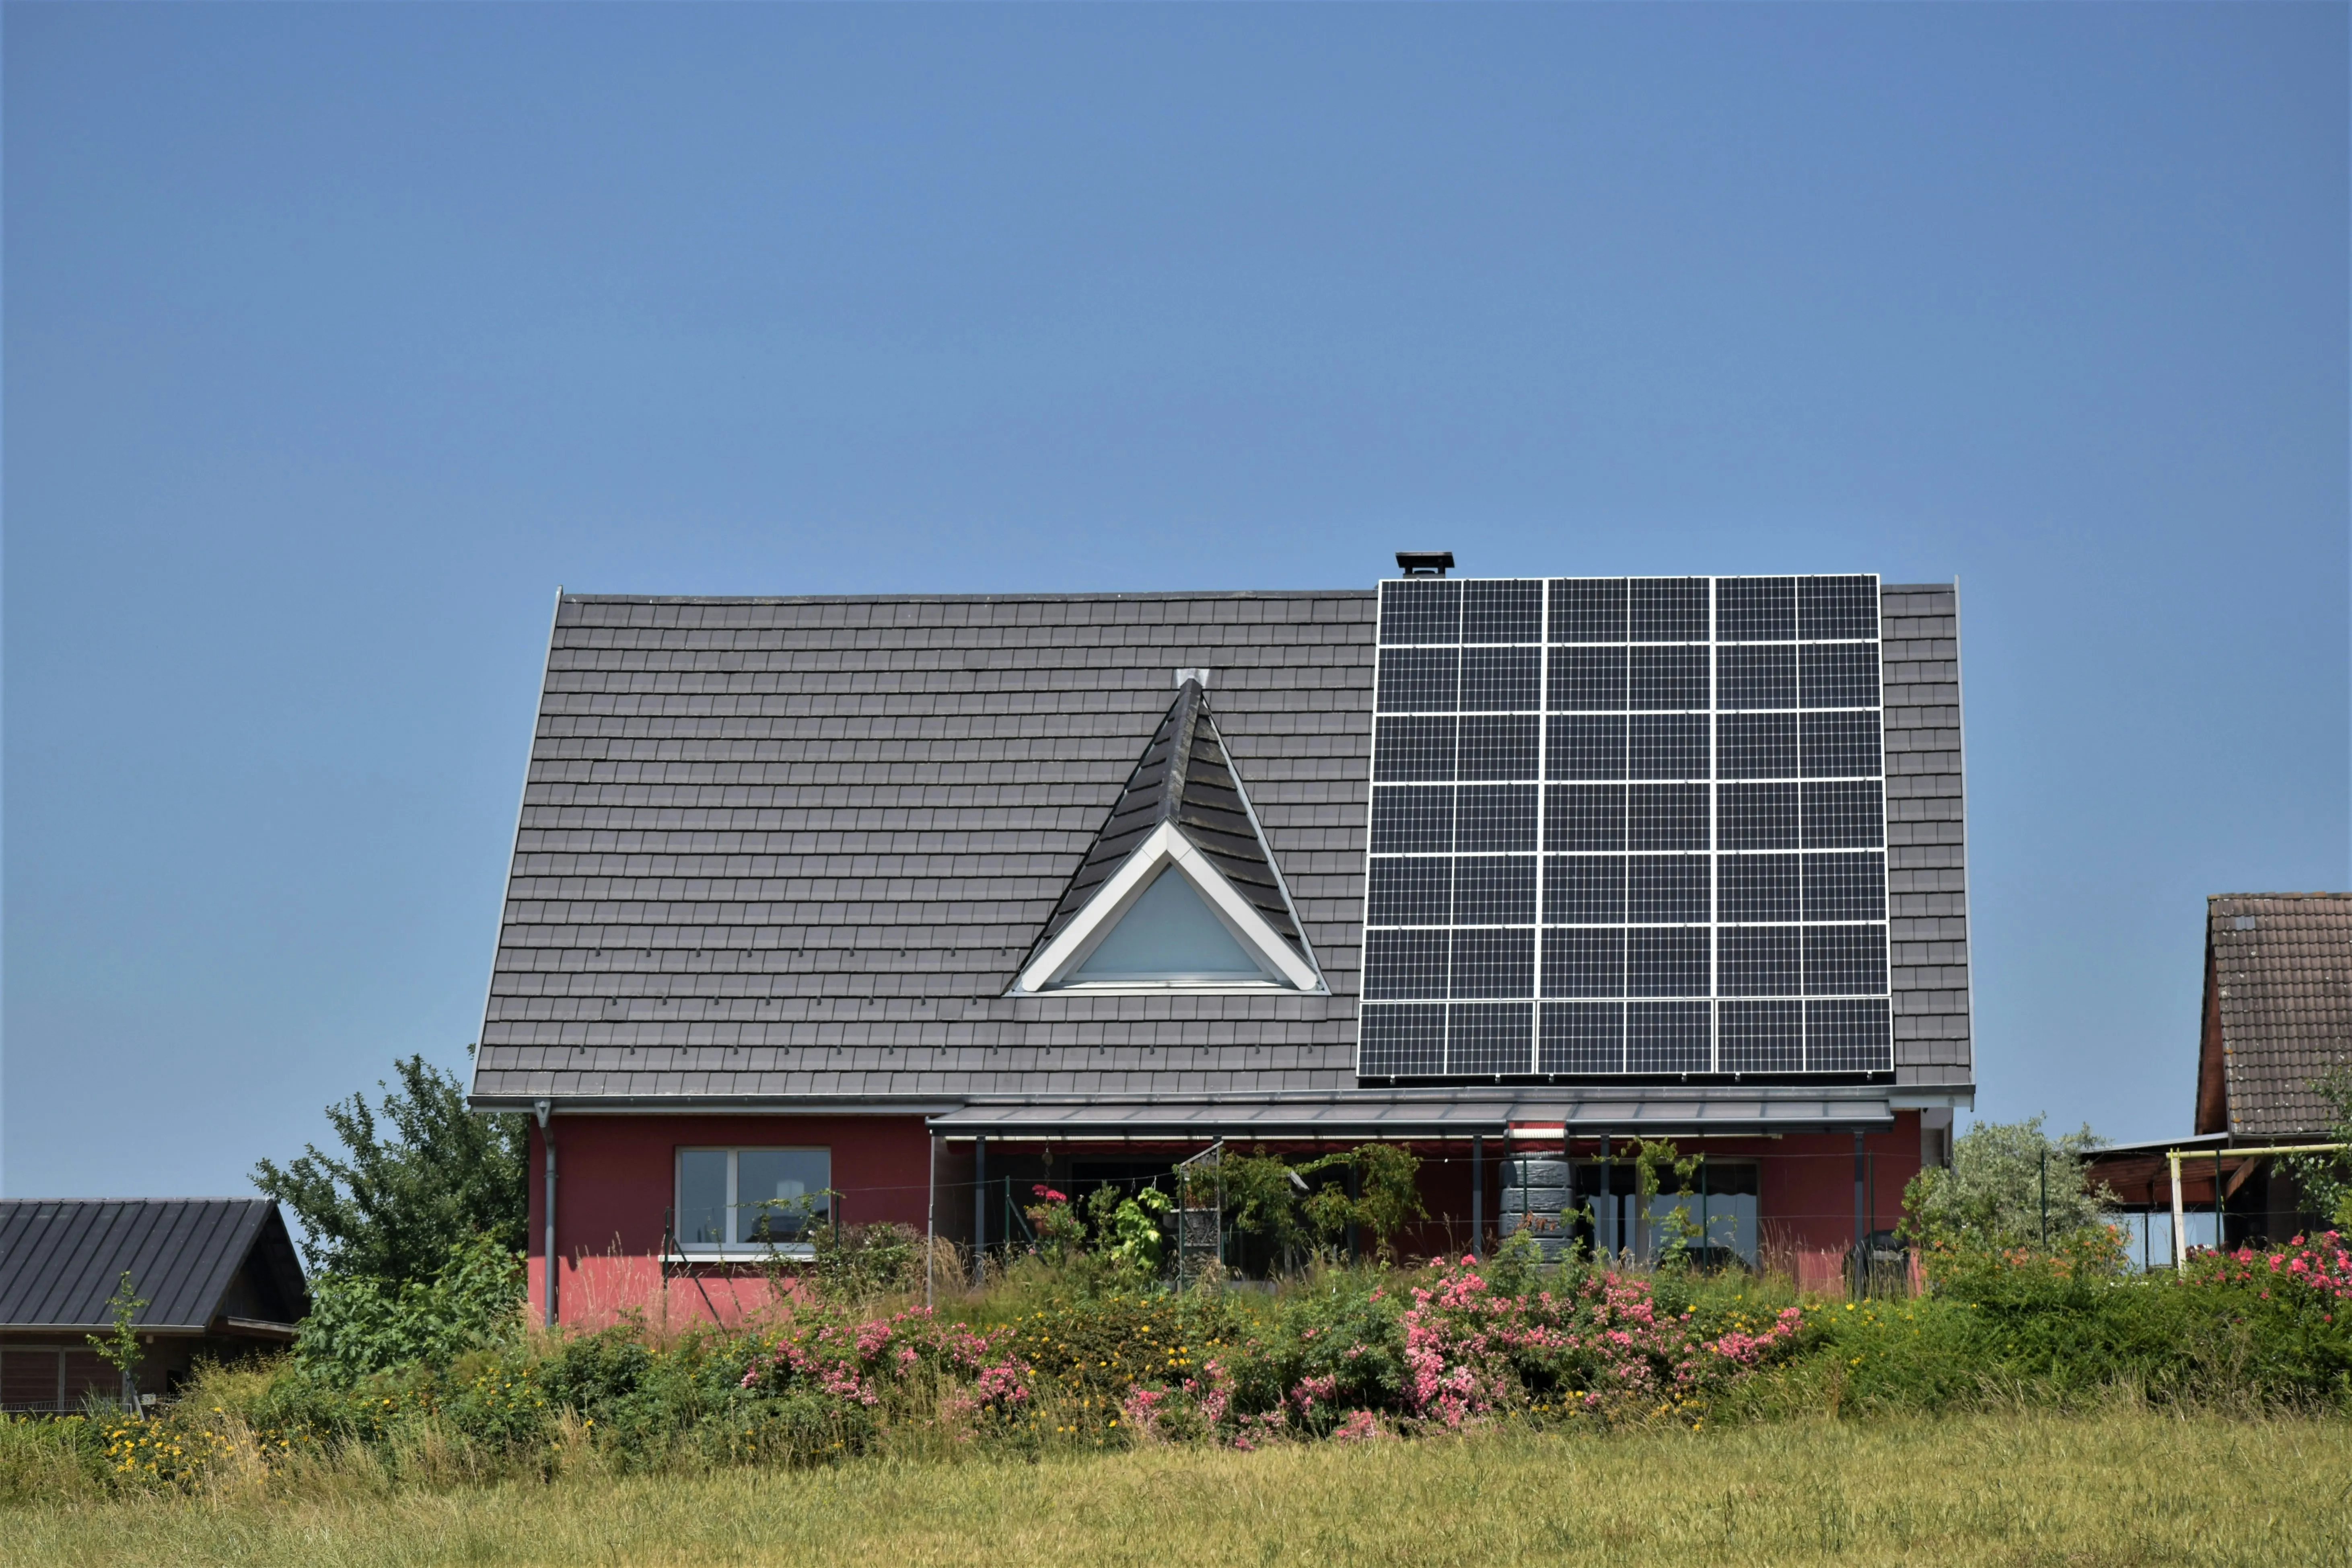
DIY Solar Panel Installation Guide:

A Step-by-Step Tutorial
Switching to solar energy is a great way to reduce your electricity bills and minimize your carbon footprint. Installing solar panels yourself can be a rewarding project that not only saves you money but also provides you with a sense of accomplishment. This short guide will walk you through the key steps of a DIY solar panel installation, from selecting the right panels to mounting them and setting up the inverter.
Step 1: Select the Right Solar Panels
Choosing the right solar panels is critical for a successful installation. Here’s what to consider:
- Type of Panels: Monocrystalline panels are more efficient but cost more, while polycrystalline panels are more affordable but slightly less efficient. Thin-film panels are lightweight and flexible but generally have lower efficiency.
- Panel Size and Capacity: Determine your energy needs by looking at your electricity usage over the past year. Choose panels that can produce enough energy to cover your consumption, and account for potential future increases.
- Quality and Warranty: Look for panels with a solid warranty (typically 20-25 years) and positive reviews.
Consider checking out recommended solar panel kits here that come with everything you need for a basic installation.
Step 2: Gather Necessary Tools and Safety Gear
Before you begin, make sure you have all the required tools and safety gear:
- Tools: Drill, wrenches, screwdrivers, ladder, wire cutters, and a multimeter.
- Safety Gear: Safety glasses, gloves, non-slip shoes, harness (for roof work), and insulated tools.
Step 3: Determine the Best Location for Your Panels
Select a location with maximum sun exposure throughout the day:
- Roof or Ground Mounting: Roof mounting is the most common choice, but ground mounting might be ideal if your roof doesn’t receive sufficient sunlight.
- Orientation and Tilt: In the Northern Hemisphere, face panels south at an angle equal to your latitude for maximum efficiency.
Step 4: Install Mounting Hardware
Mounting hardware securely holds the panels in place. Here’s how to set it up:
- Mark the Locations: Measure and mark where the panels will be placed on your roof or ground.
- Install Mounting Brackets: Drill holes and attach the brackets securely to the roof rafters or ground structure. Ensure they’re evenly spaced and aligned.
- Attach Rails: Mount the rails to the brackets using stainless steel bolts. Make sure the rails are level to provide a sturdy base for the panels.
Step 5: Mount the Solar Panels
With the mounting hardware in place, it’s time to attach the solar panels:
- Lift the Panels: Carefully lift each panel onto the mounting rails. For larger panels, you may need assistance.
- Secure Panels: Fasten the panels to the rails using clamps or brackets. Ensure they are tight and stable.
Step 6: Wire the Solar Panels
Proper wiring is essential for connecting the solar panels to your home’s electrical system:
- Connect the Panels: Connect the panels in series or parallel, depending on your system configuration. Use MC4 connectors to ensure a secure connection.
- Run the Wiring to the Inverter: Route the cables through a conduit to protect them from the elements and connect them to the inverter.
Step 7: Install the Inverter and Connect to the Grid
The inverter converts the direct current (DC) generated by the panels into alternating current (AC) that your home can use:
- Mount the Inverter: Install the inverter close to your main power supply. Ensure it’s in a well-ventilated area to prevent overheating.
- Connect the Inverter to the Panels: Use the manufacturer’s instructions to connect the inverter to the solar panels and your home’s electrical system.
- Link to the Grid: If you plan to sell excess power back to the grid, you’ll need to connect the inverter to the grid. Check with your local utility for specific requirements.
Step 8: Test the System
Before turning on your system:
- Check All Connections: Ensure that all wiring and connections are secure and correct.
- Power Up the System: Switch on the inverter and check the display for any error messages.
- Monitor Performance: Track your system's output over the next few days to ensure it's generating the expected amount of power.
Recommended Solar Panel Kits, Tools, and Safety Gear
For a smooth DIY installation, consider these recommended solar panel kits that include panels, inverters, and mounting hardware, as well as quality tools and safety gear to ensure a safe and effective setup.
Final Tips
- Follow Local Regulations: Ensure your installation complies with local building codes and zoning laws.
- Get Professional Help If Needed: If you’re unsure about any step, consult a professional electrician or solar installer to avoid potential hazards.
By following these steps, you’ll be well on your way to enjoying clean, renewable energy from your own DIY solar power system.
Copyright © 2024 - 2027. All rights reserved.
This website is not affiliated with Facebook or Facebook Inc. in any way.
Furthermore, this site is not endorsed by Facebook. FACEBOOK is a registered trademark of FACEBOOK, Inc.
This site is also not associated with Google™ or its network of websites, including YouTube™ or any company under the ownership of Google™ or YouTube™.
Additionally, this website is not endorsed by Google™ or YouTube™ Inc. Google™ and YouTube™ are trademarks of their respective companies.
Disclaimer: The information provided on this website is for educational purposes only.
Before implementing any advice or methods discussed on this site, please consult a qualified professional.
